
Okta
Learn how to authenticate to Amply with Okta.
Amply supports single-sign on via Okta (using SAML). Currently supported features include:
- IDP-initiated SSO
- Just-in-time provisioning
This guide outlines the setup process for authenticating to Amply with Okta. If you have any questions during the setup process, please contact support ([email protected]) for assistance.
Create Amply SSO connection
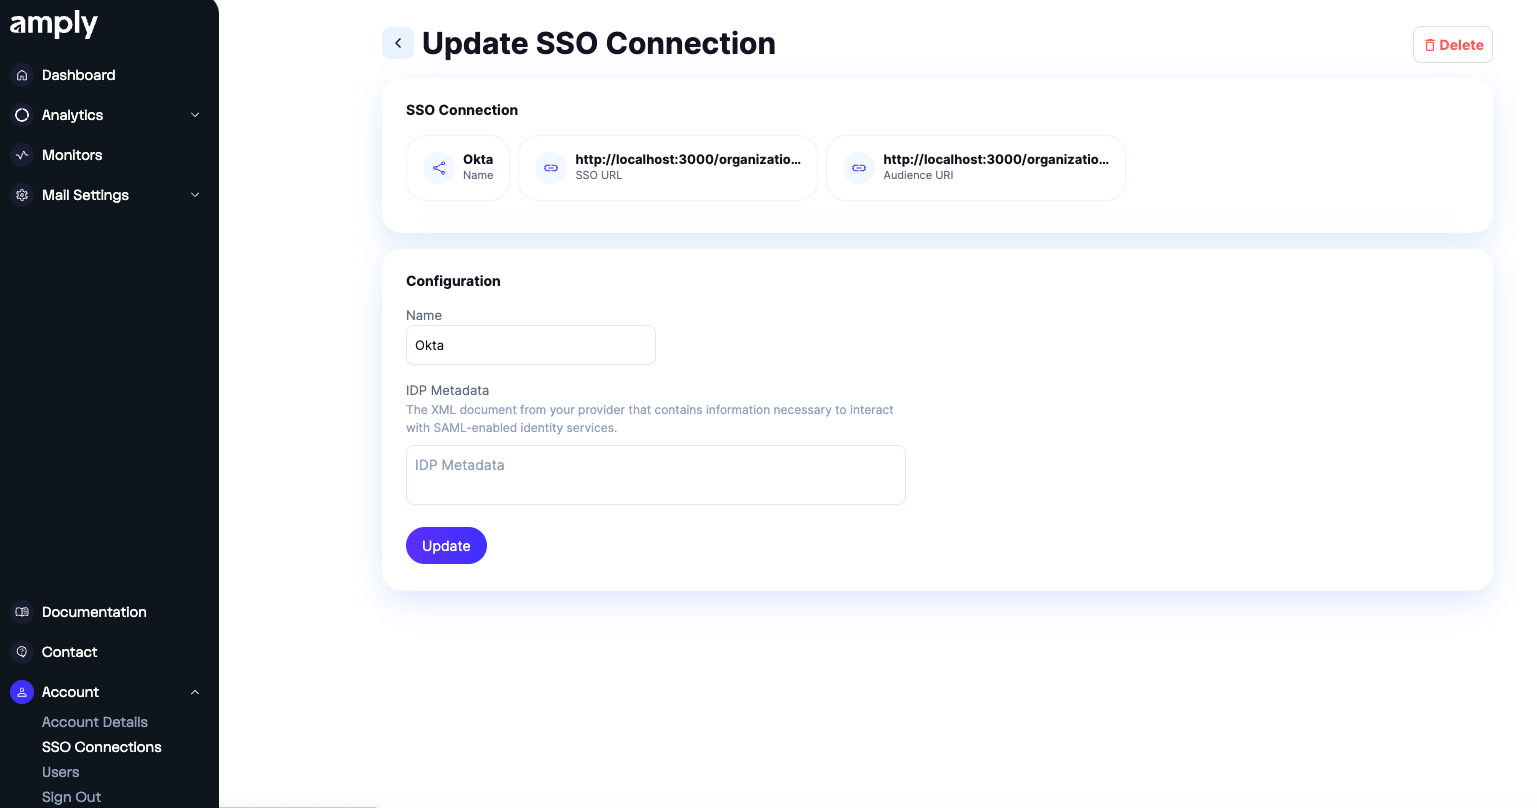
Navigate to Account -> SSO Connections from your Amply dashboard. Click the + to add a new SSO connection.
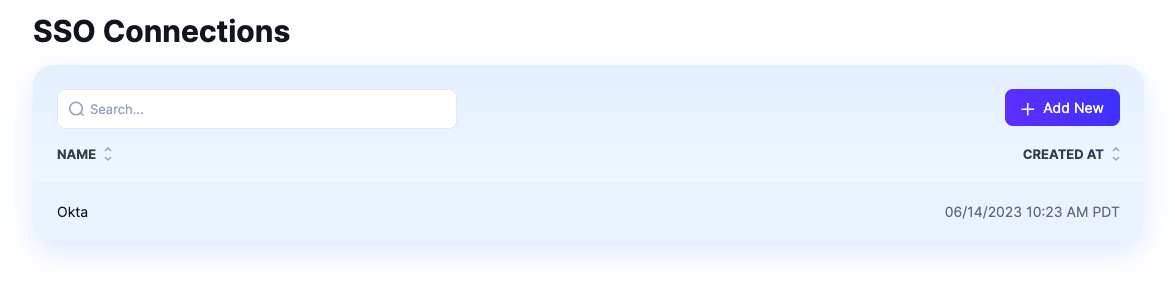
Enter a name for the connection, and click Create to add the connection to Amply.
Create Okta Application
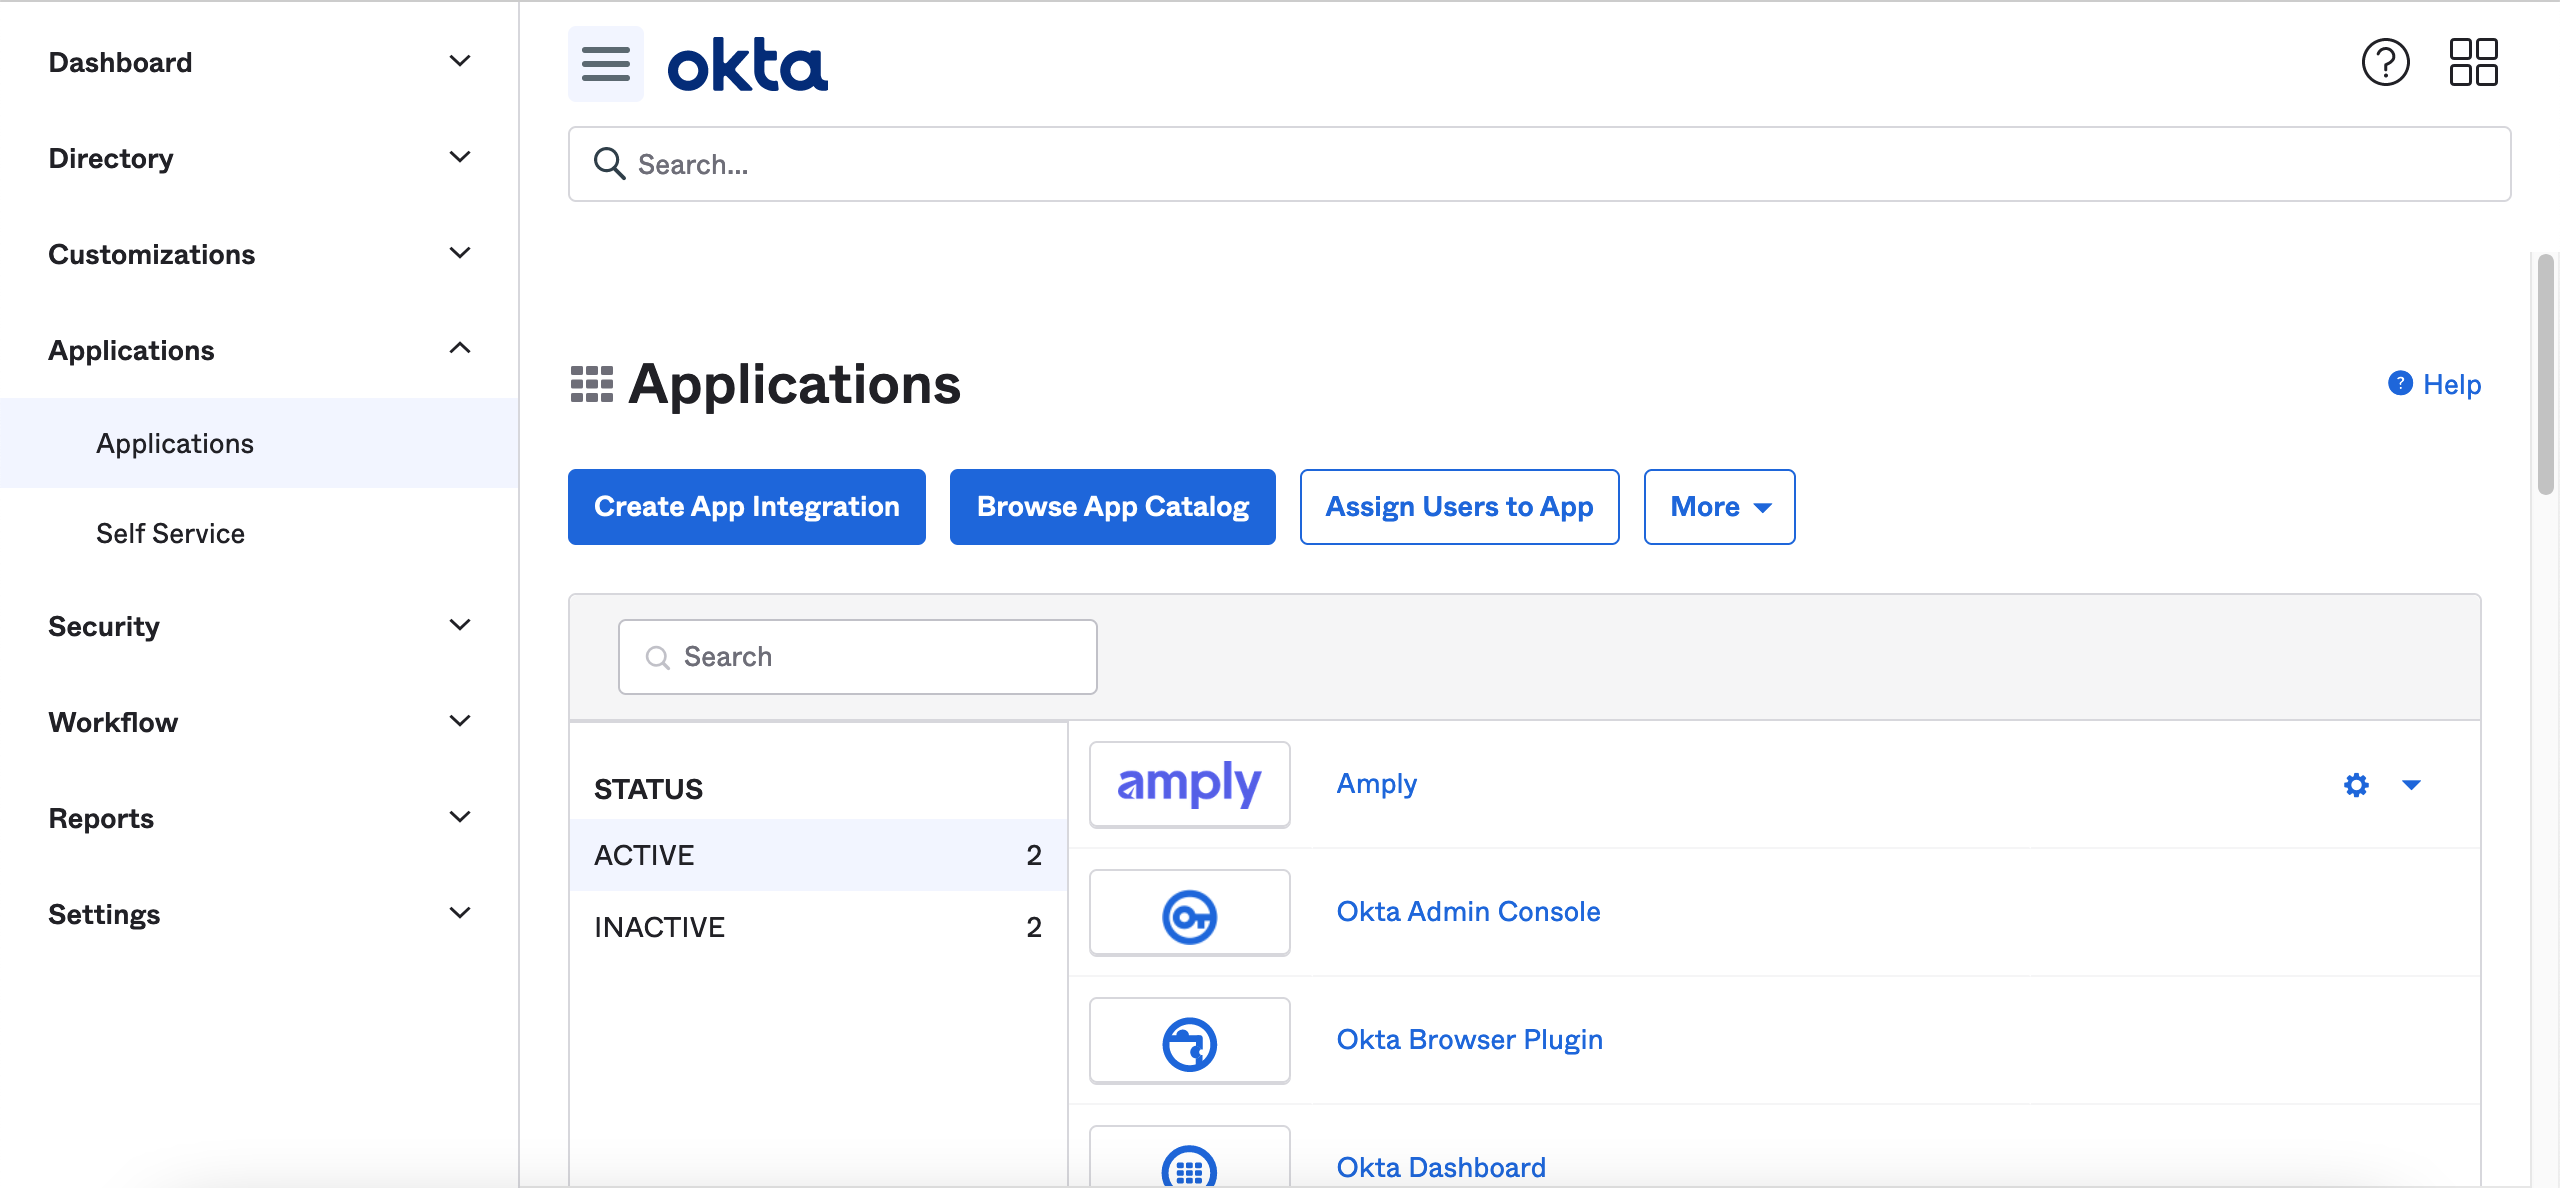
In your Okta account, go to Applications and click Create App Integration.
Choose SAML 2.0.
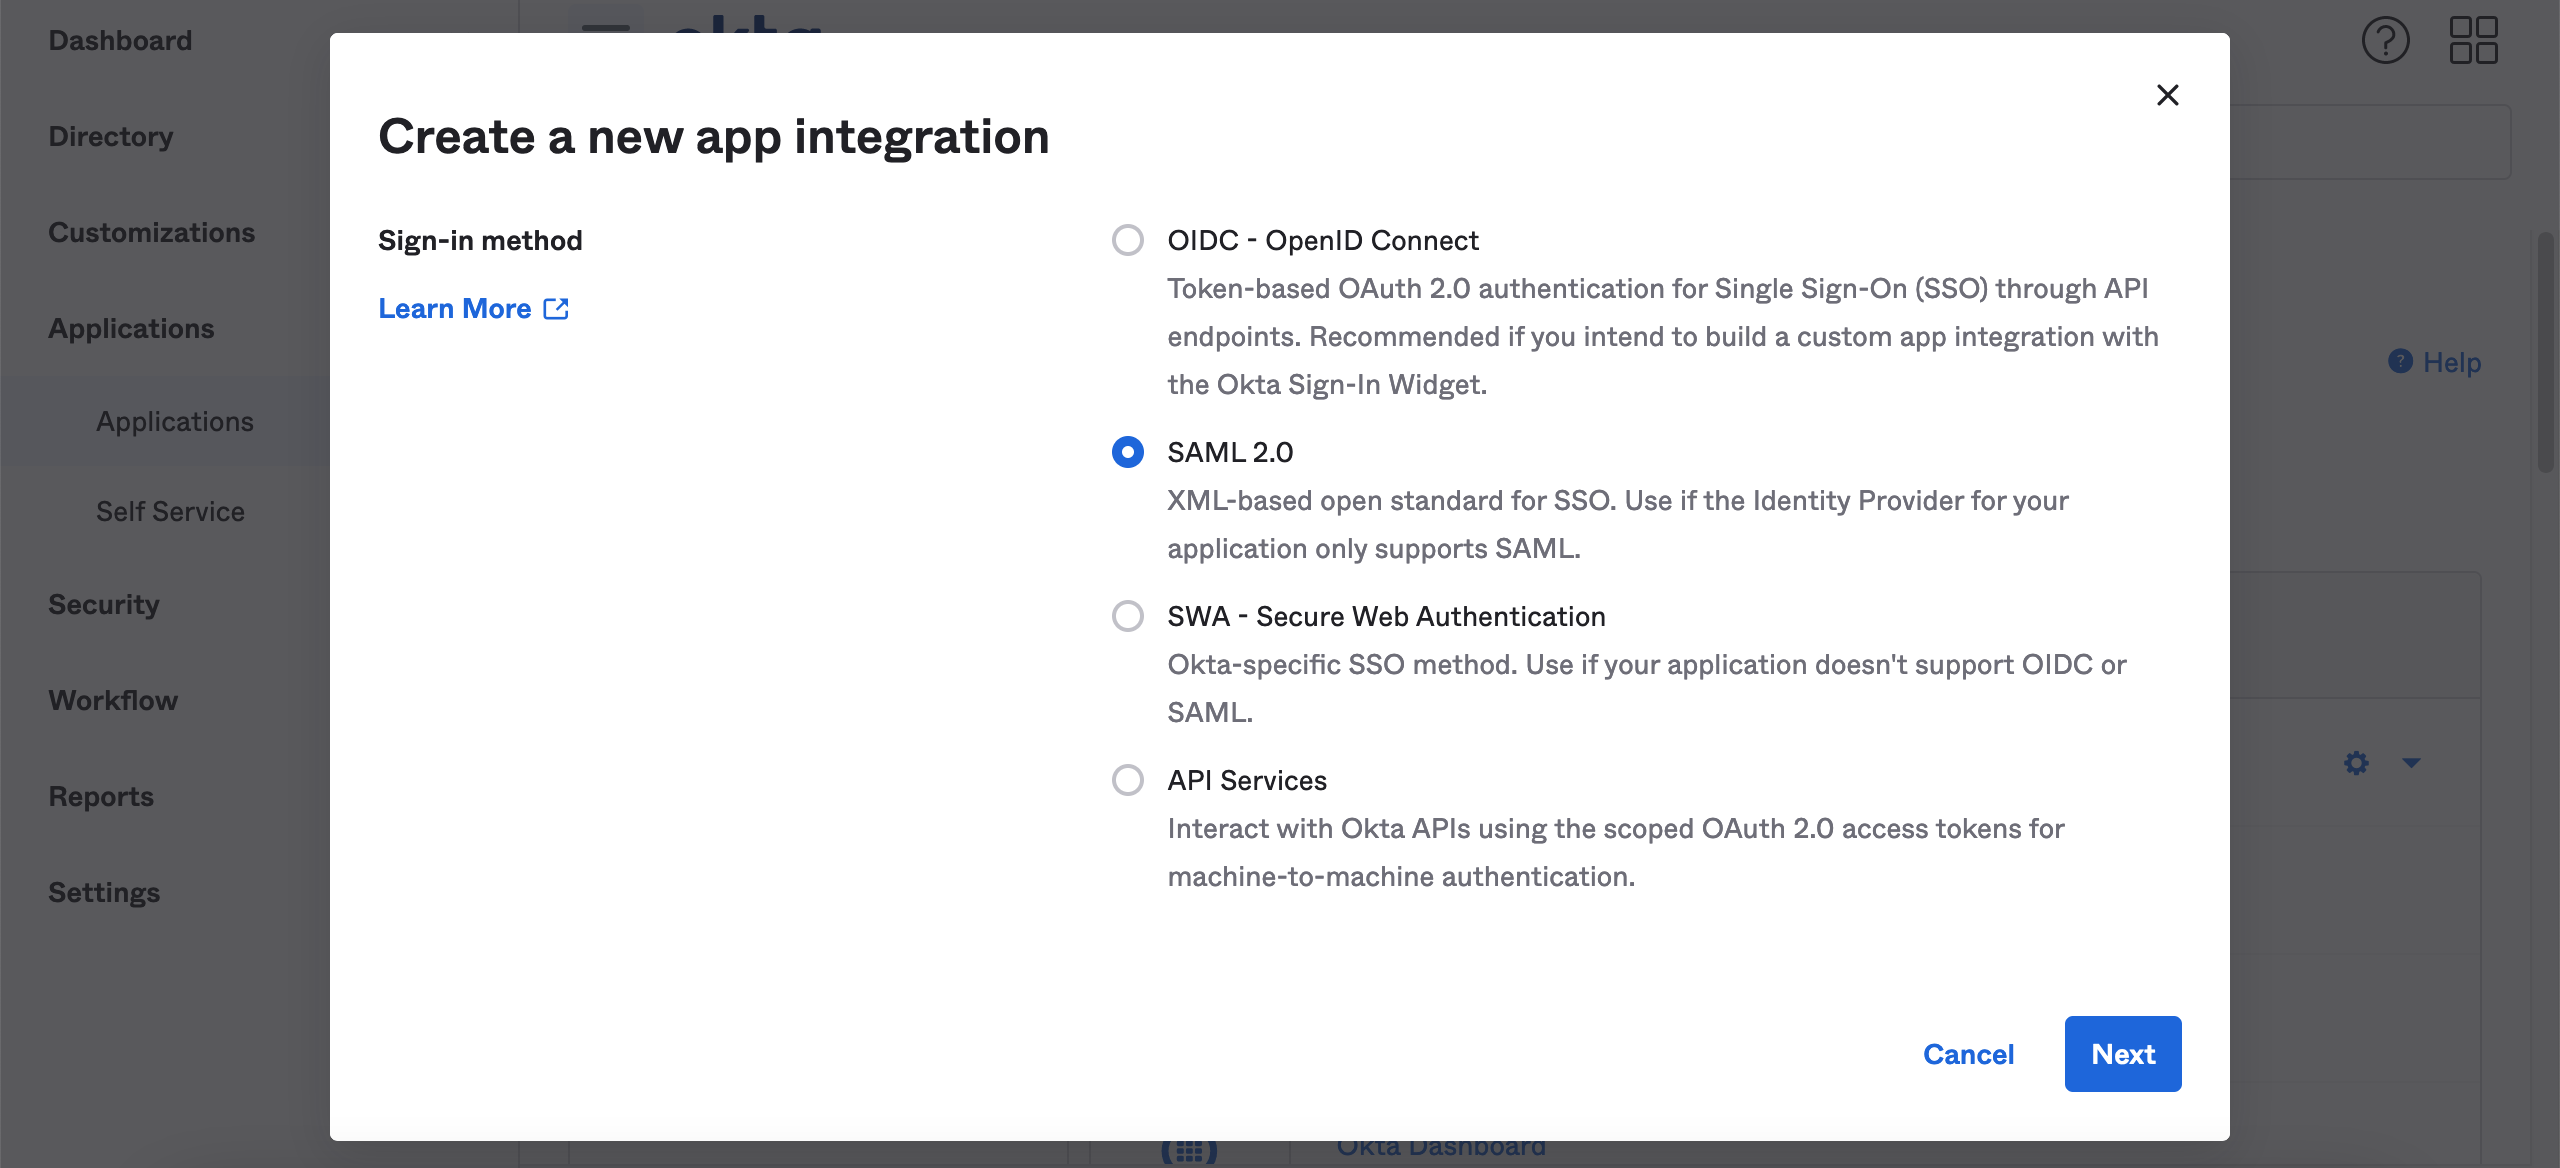
Click Next to continue.
Configure General Settings
From the next page, enter the following details:
- App name: Amply
- App logo (optional): You can download the Amply logo, and upload it to Okta to use as the logo for this app
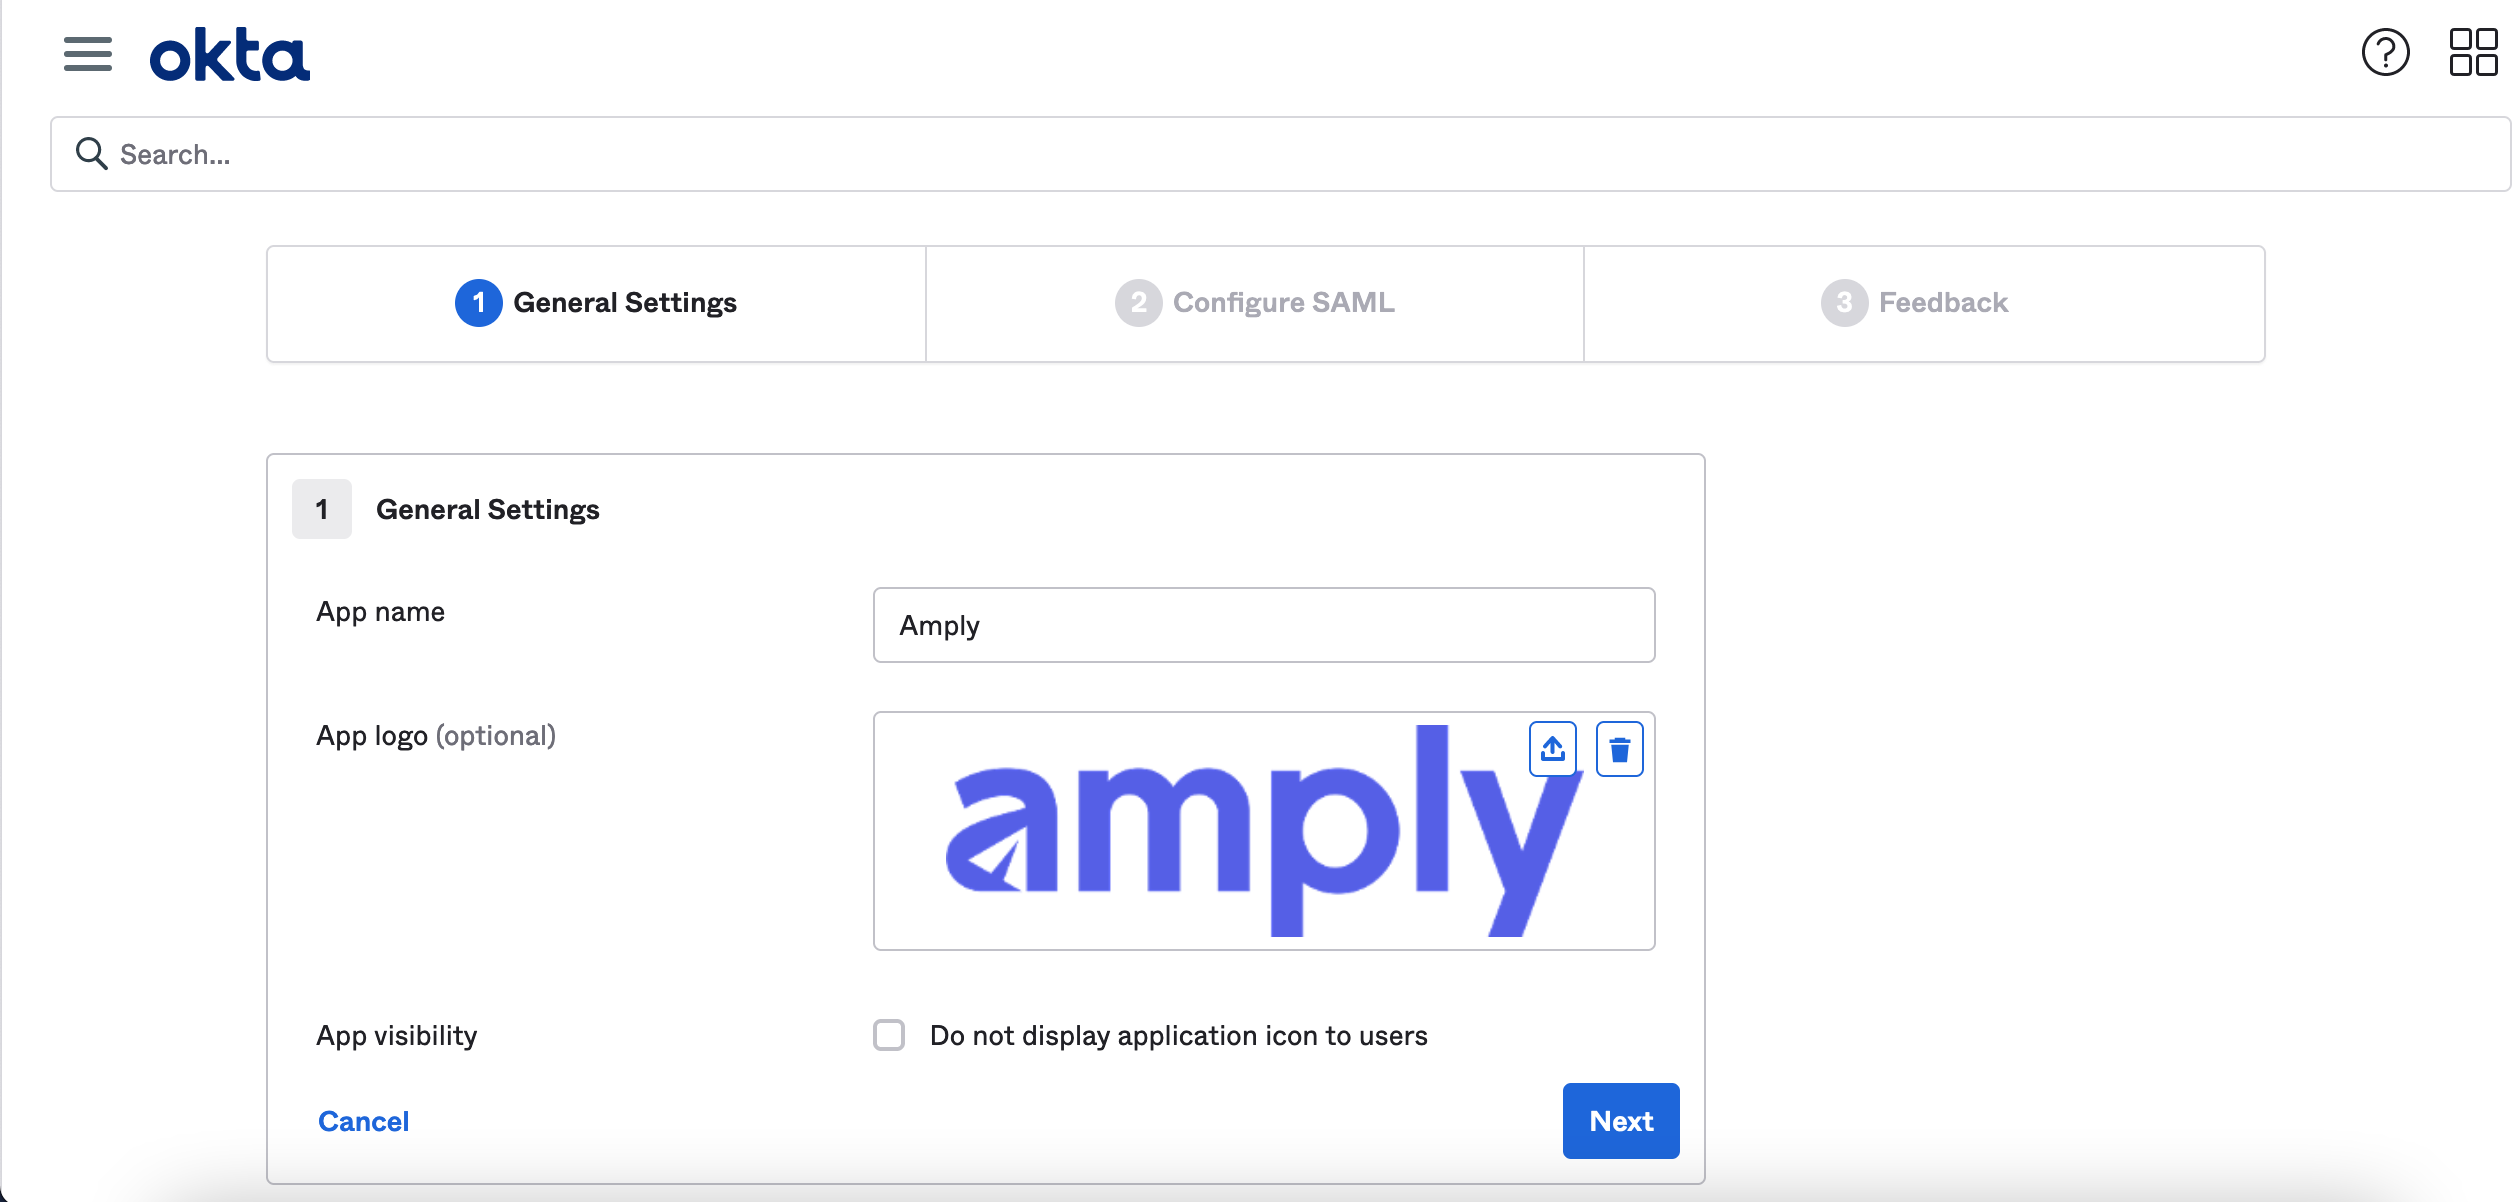
Click Next to continue.
Configure SAML
From the SSO connection you created in your Amply dashboard, copy the SSO URL and Audience URI at the top by clicking on them.
Navigate back to Okta and enter these values for the SSO URL and Audience URI. Under Name ID Format, select EmailAddress.
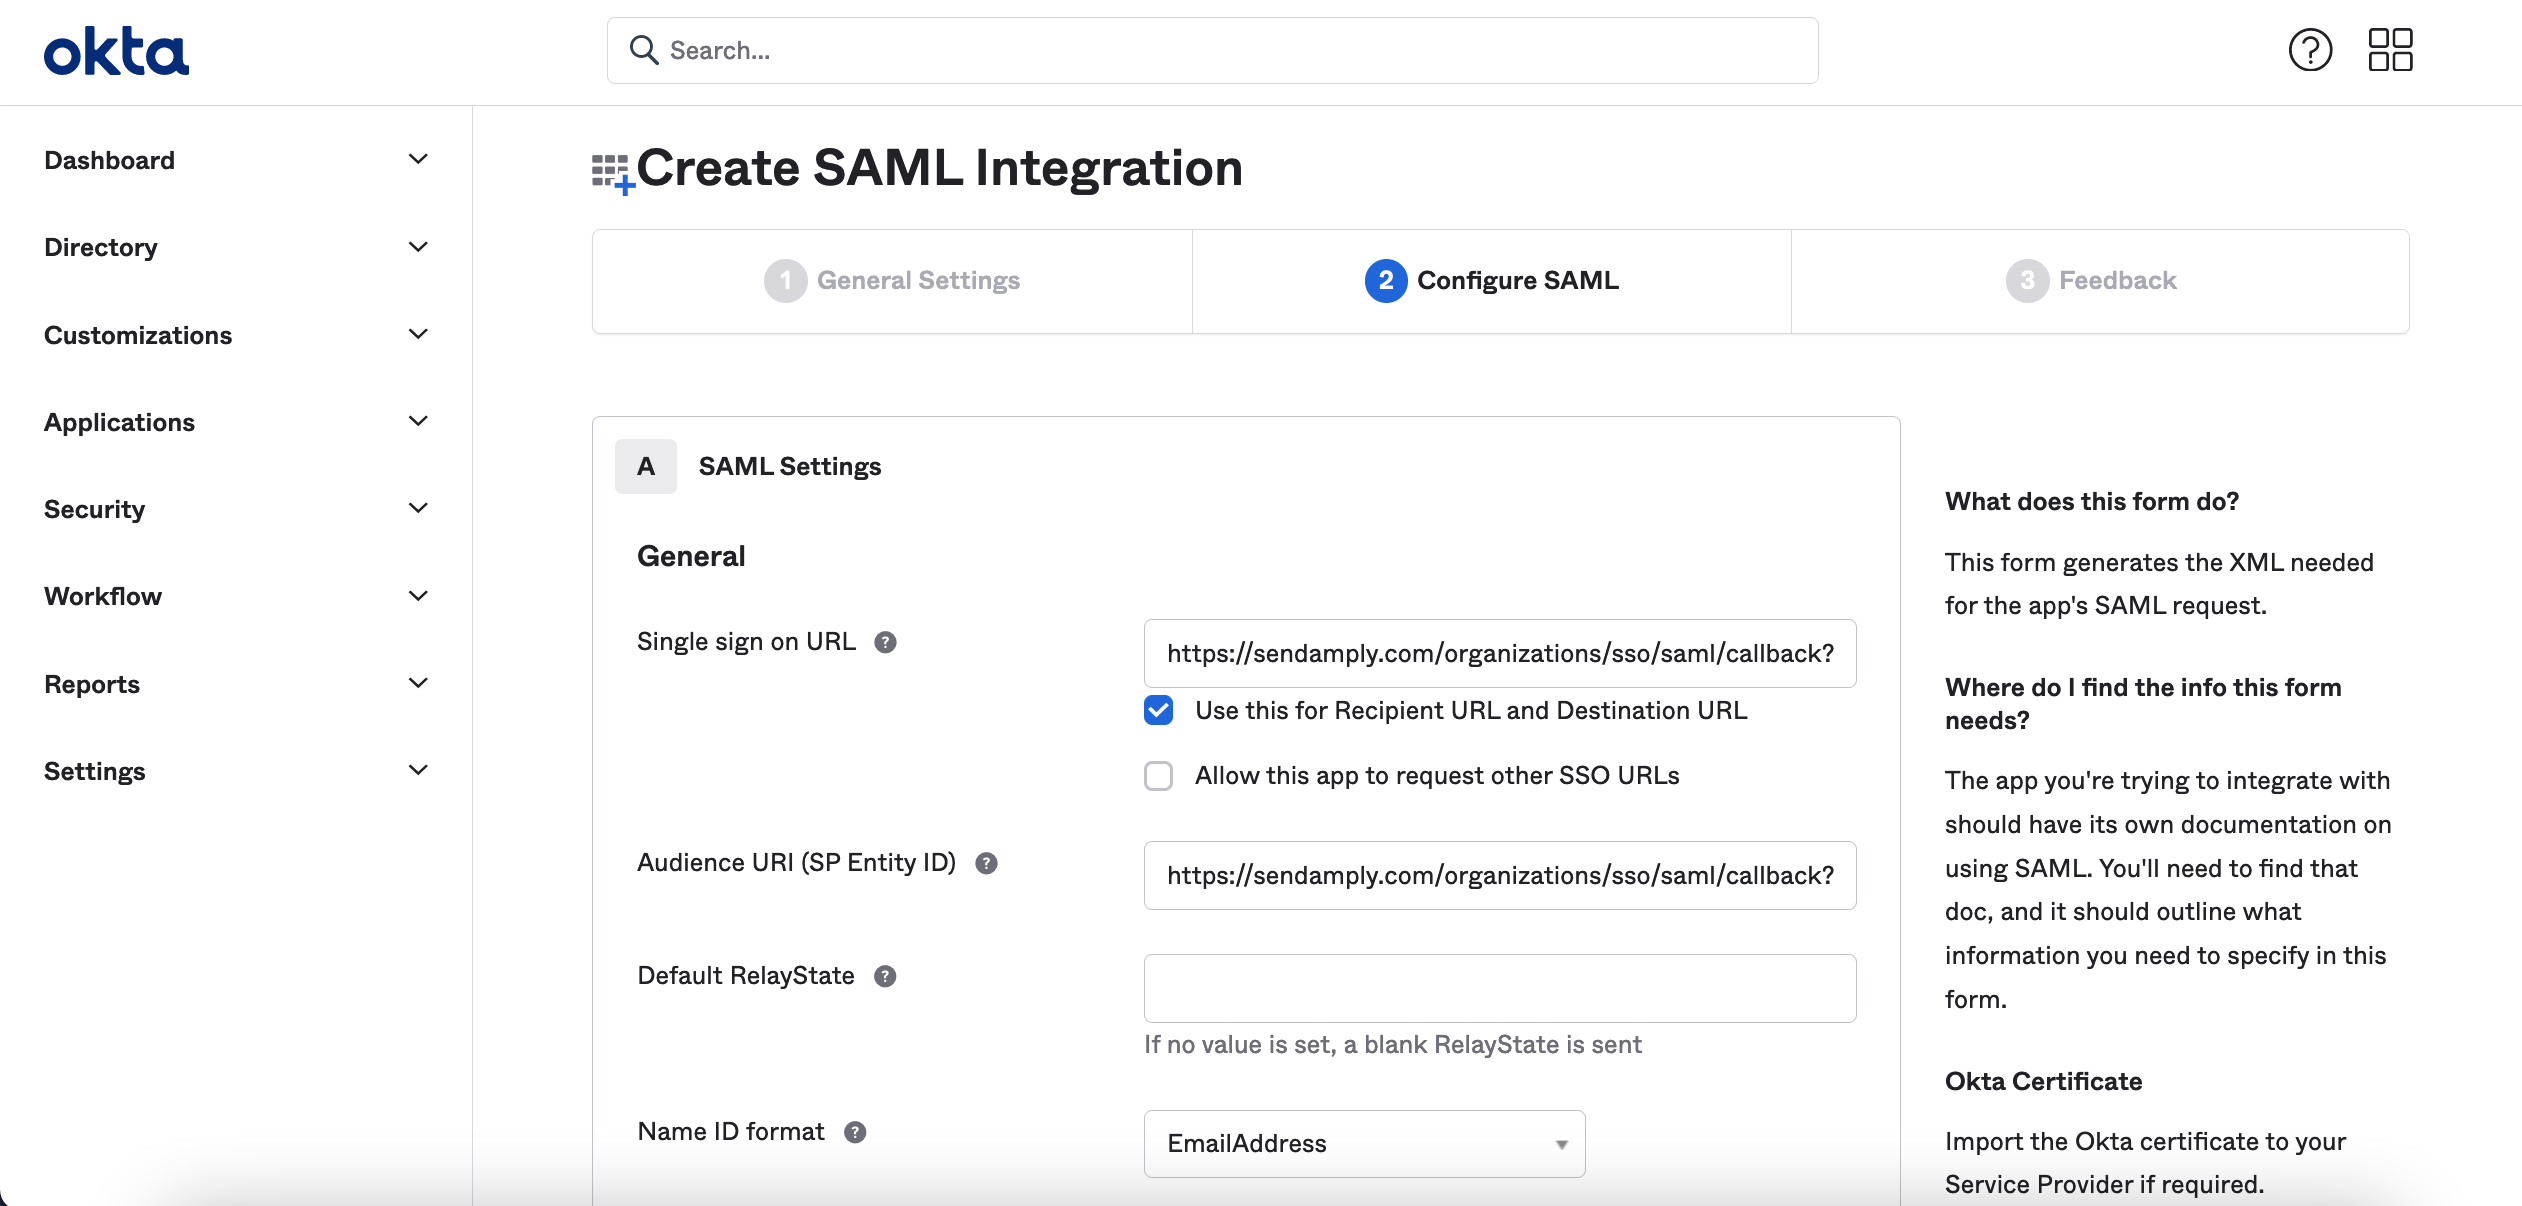
Click Next to continue.
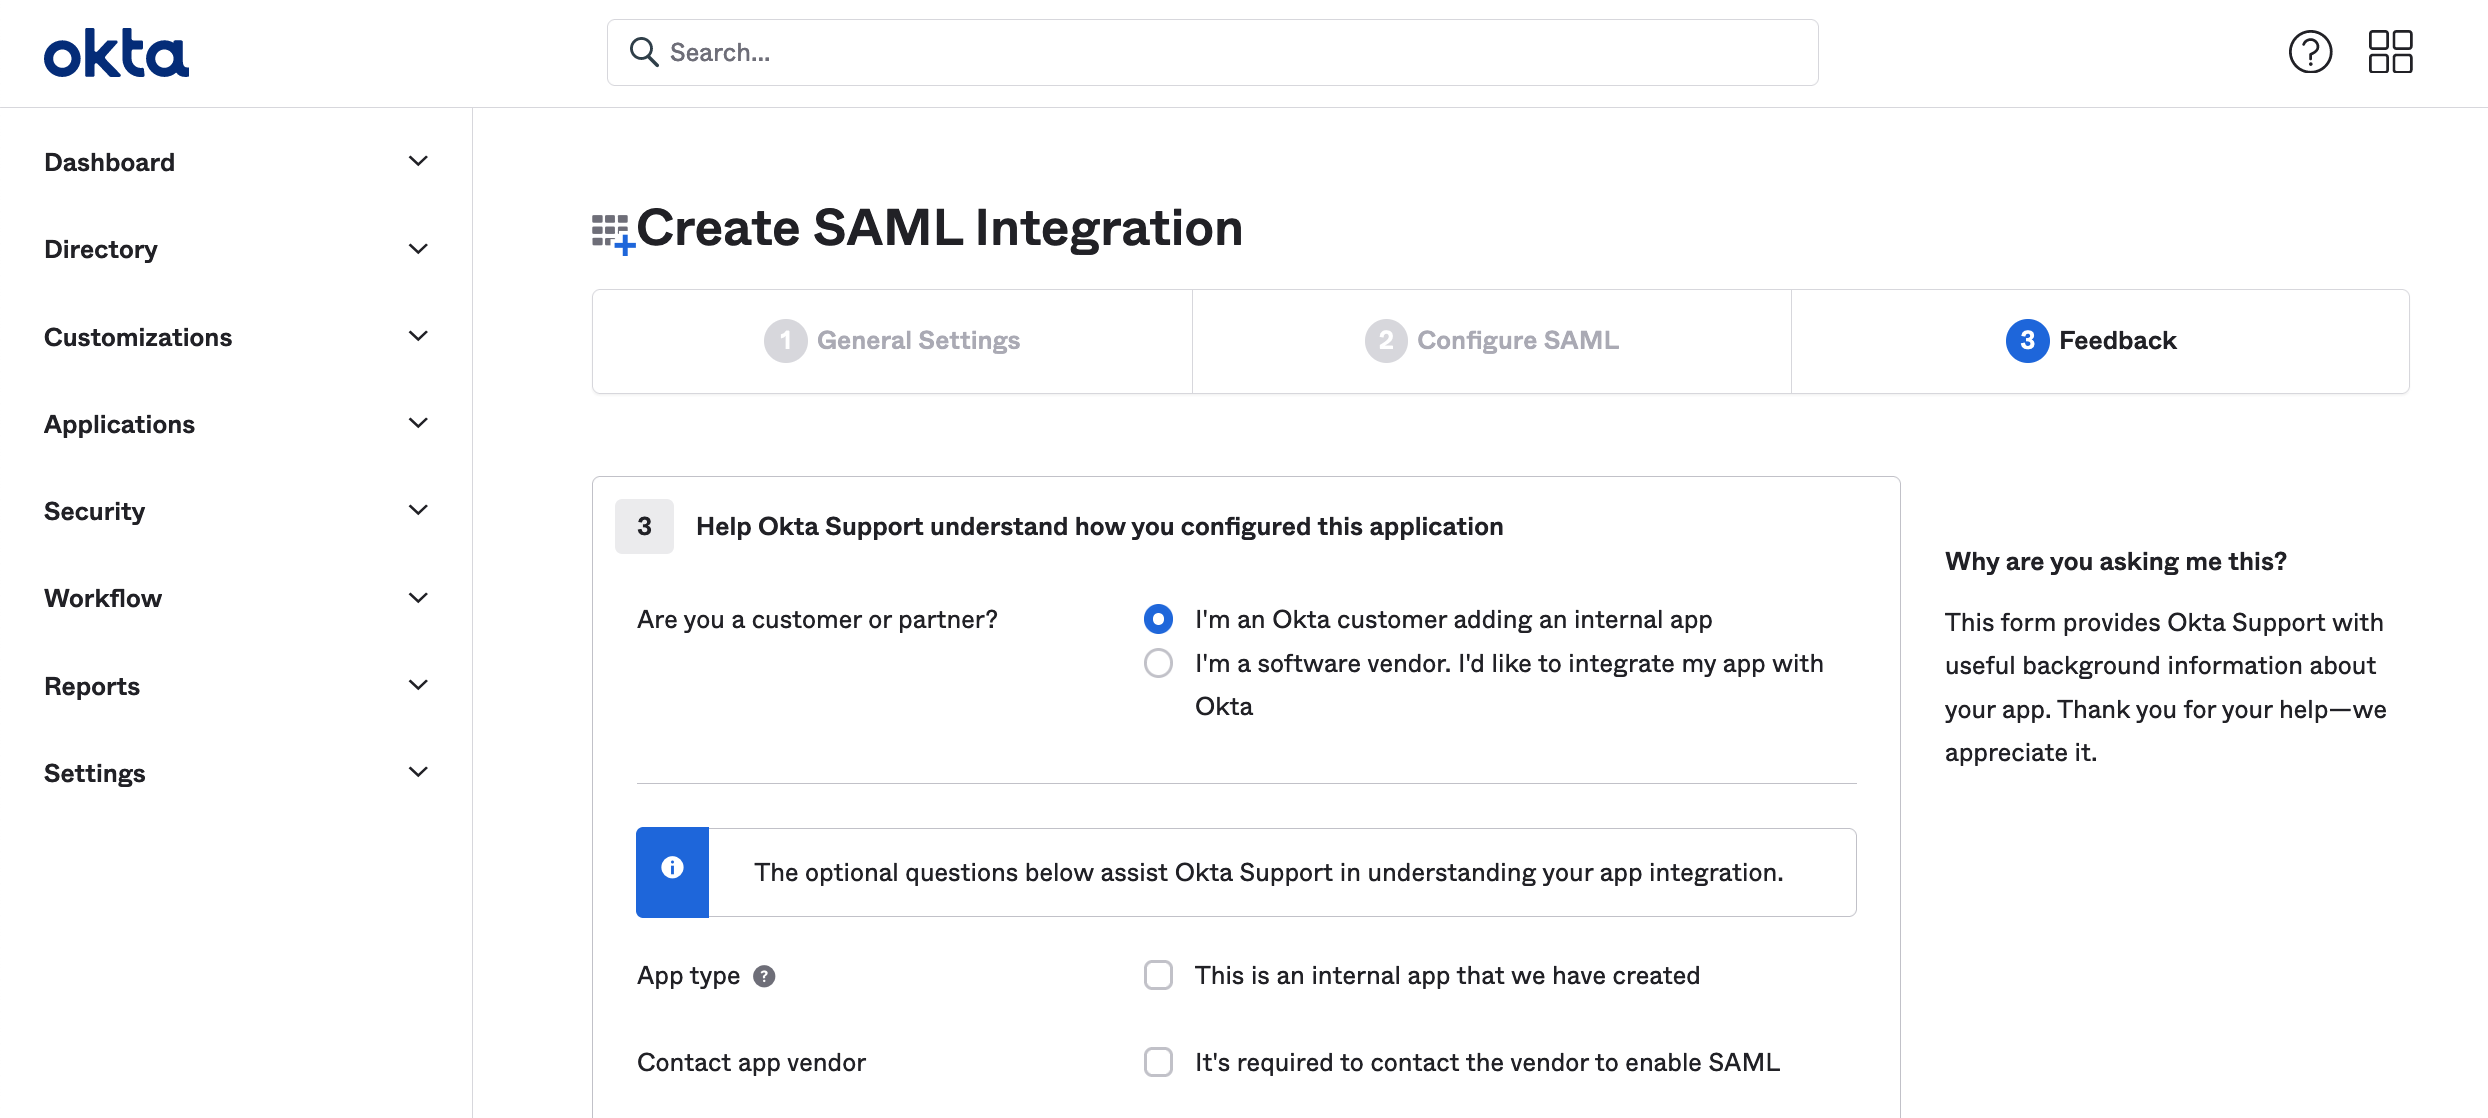
Finish Okta setup
Select I'm an Okta customer adding an internal app and then Finish.
Add IDP metadata to Amply
On the next page in Okta, click View Setup Instructions.
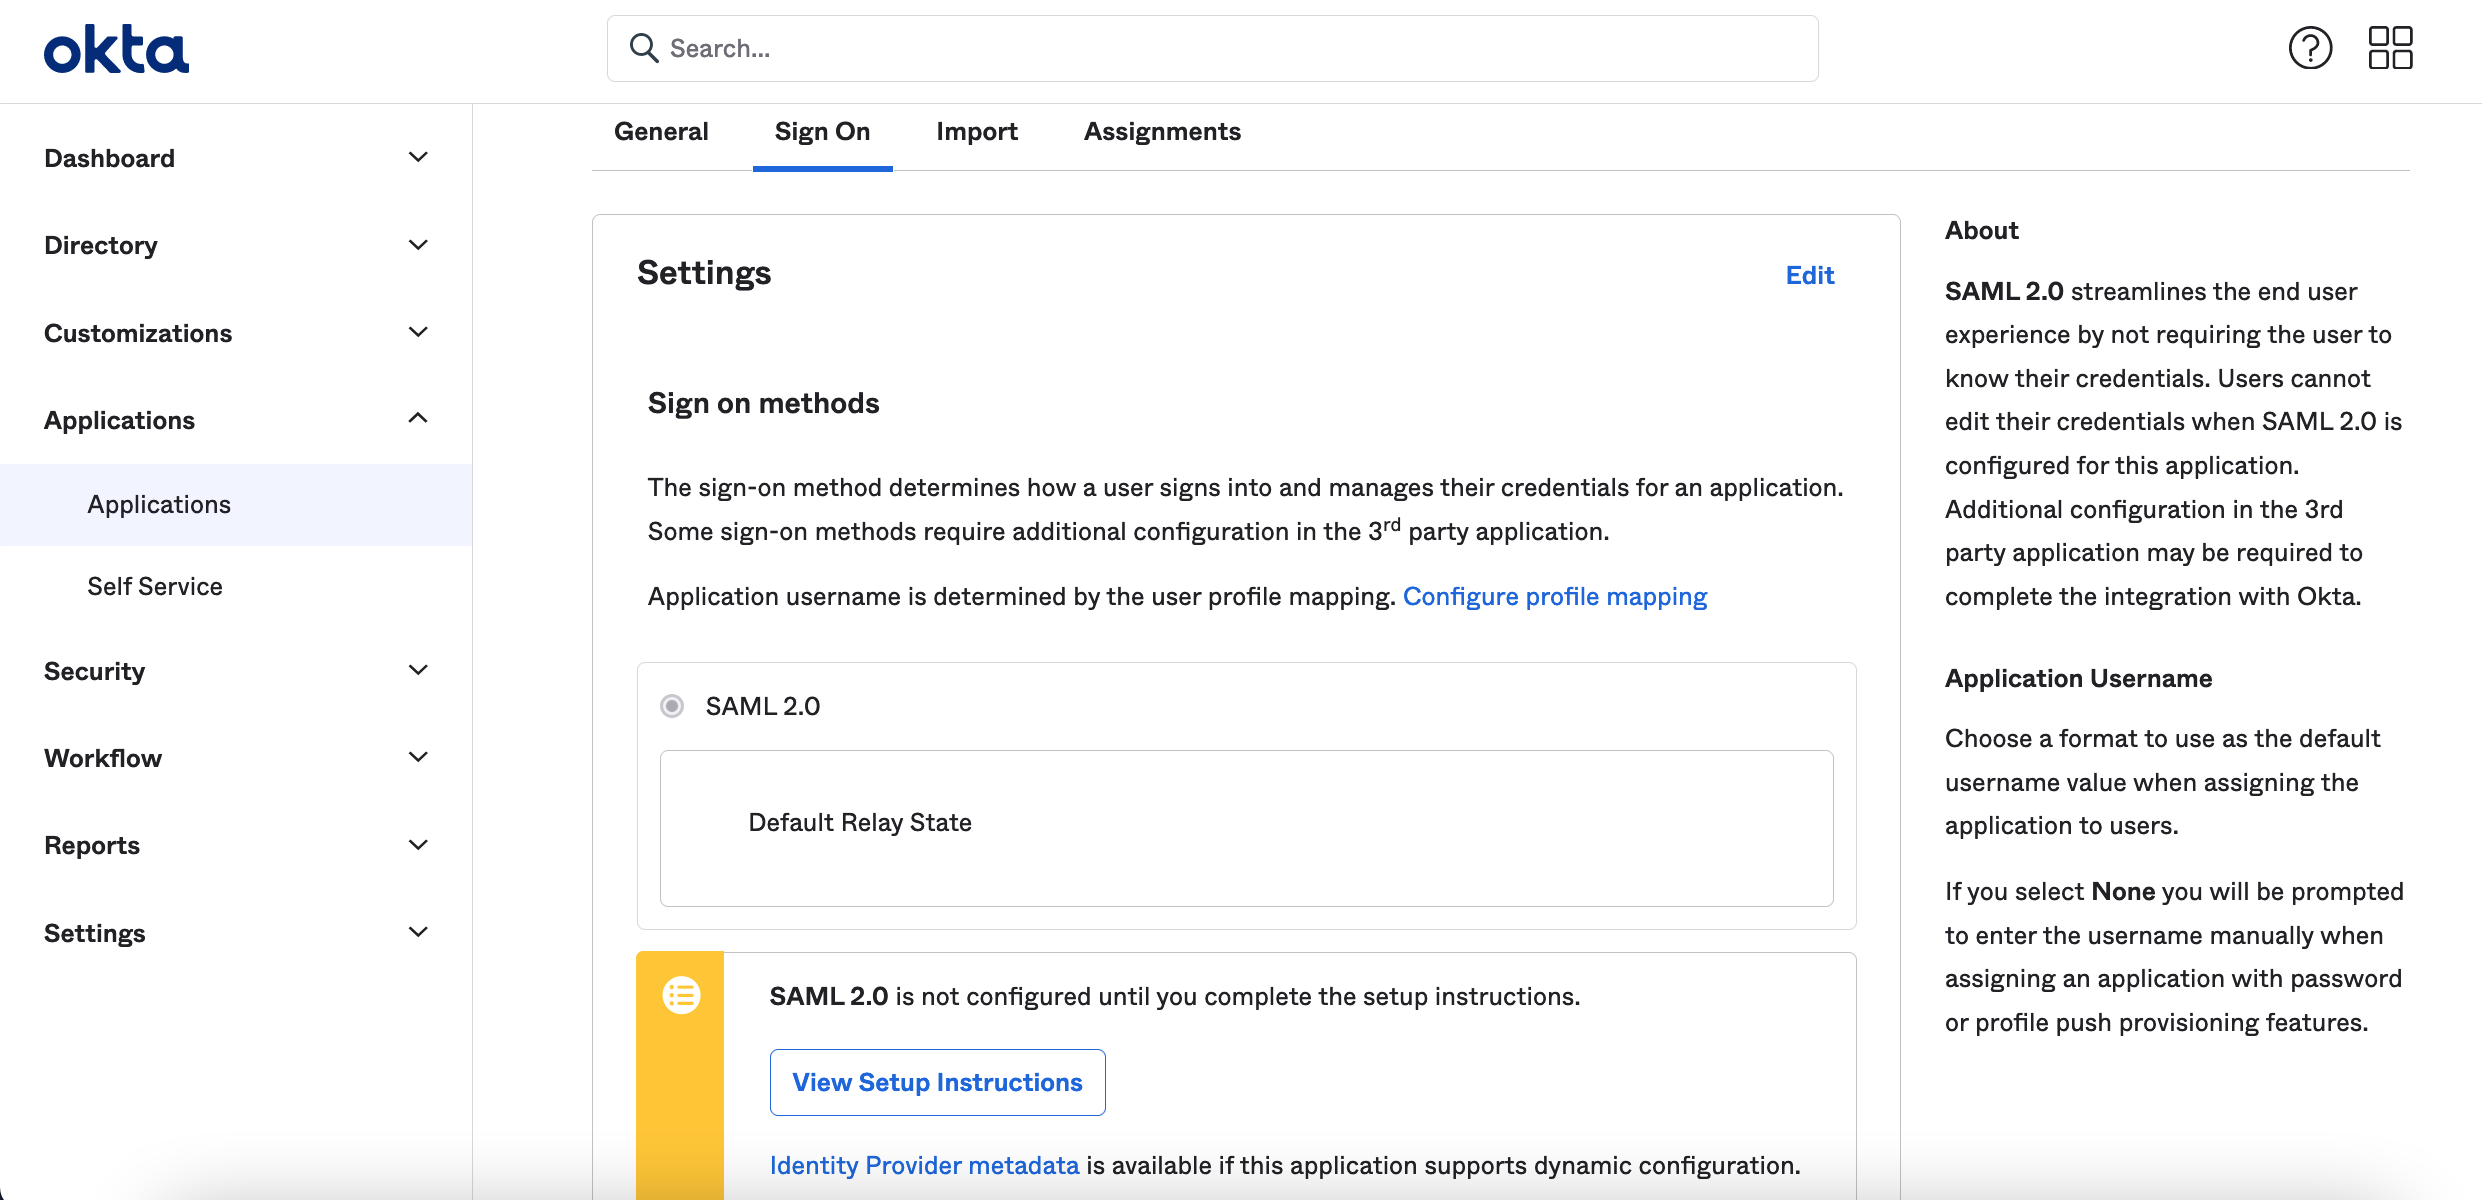
Scroll to the bottom of the page, and copy the XML under Provide the following IDP metadata to your SP provider.
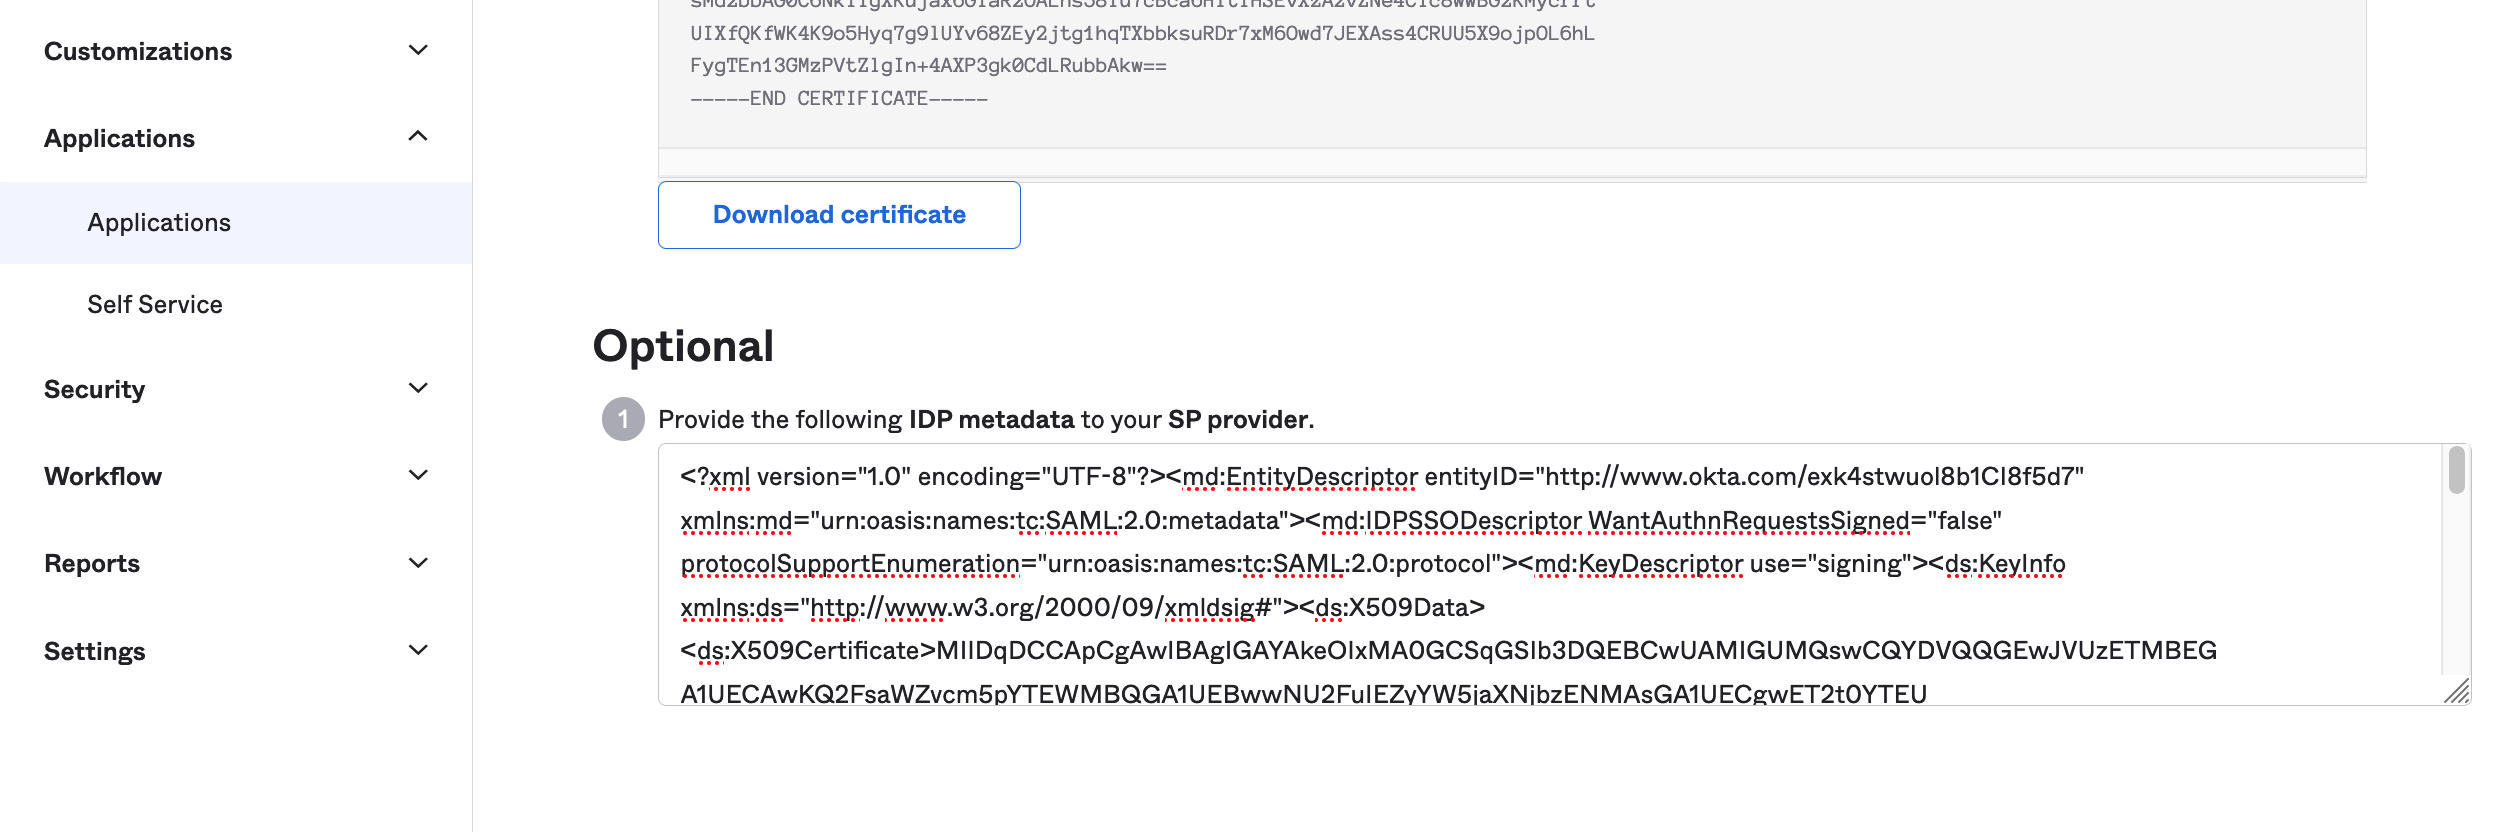
Paste this into IDP Metadata in Amply.
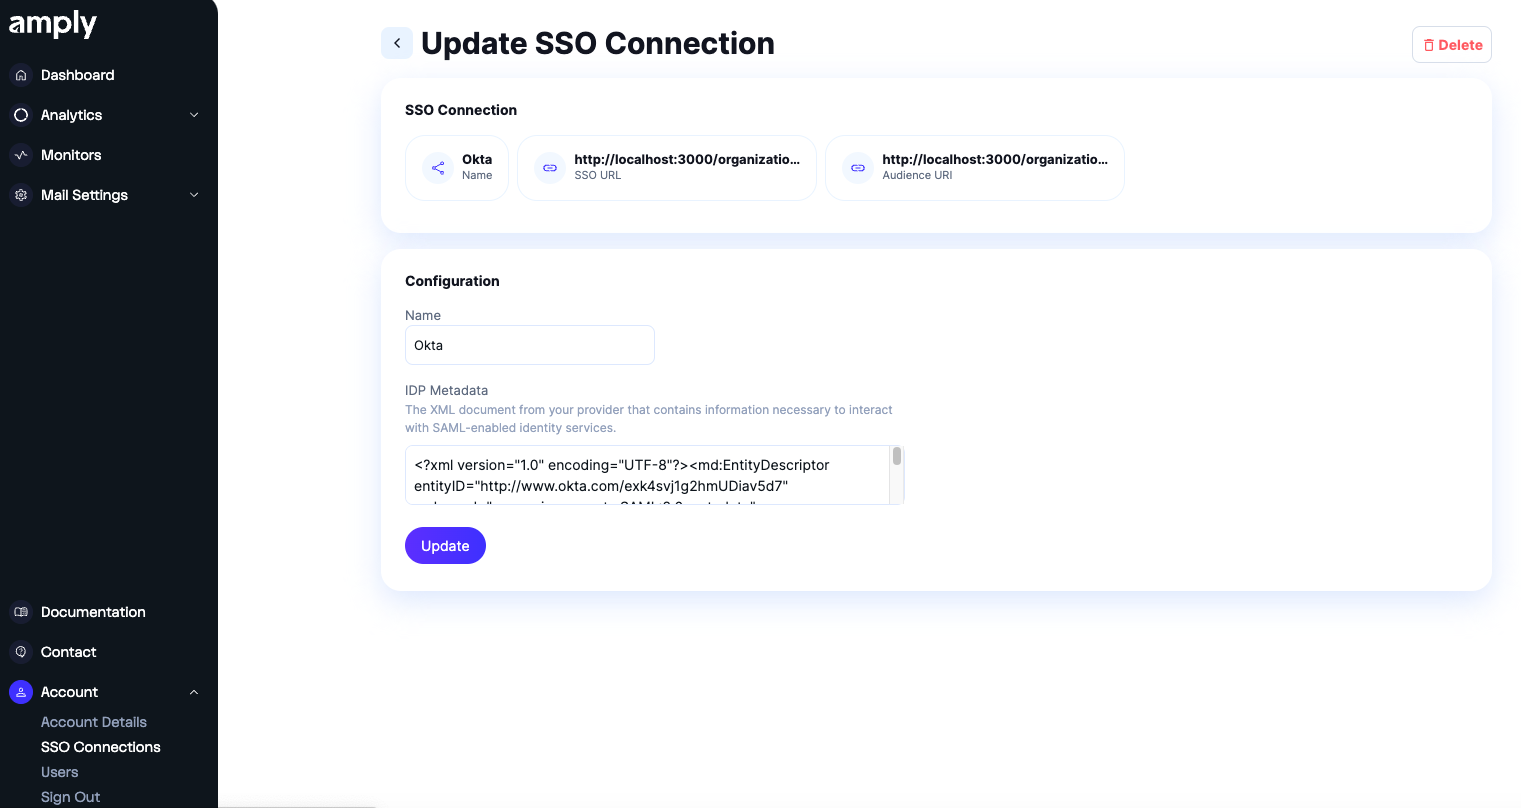
Click Update to finish setup.
Test Okta connection
Import users and groups to your new Okta app. From here, you can launch your Amply app to authenticate with Okta SSO!
Updated about 1 year ago